Tips for Observers: Voucher Photography
This is heavily based on an article originally published on the EcoPress website (click here to see original).
|
Much progress has been made in enabling anyone with an internet connection to report observations of just about any plant, animal, or good restaurant to the rest of the world. I suspect most professional ecologists recognize that haphazard, opportunistic observations of species of interest are often riddled with bias and error –observations collected along roads, observers only revisiting the same ‘good’ sites that produce regular observations, reporting only rare species, misidentification of species, etc., etc., etc. These and other sources of error make scientific inference quite limited (I’ll save the rest of my soapbox speech on this for another post), but a camera is one tool that can help ecologists account for errors in identification.
|

Example of how important a single photograph can be. This photo of a Yellow Mud Turtle was only the 3rd record of the species in Baca County, Colorado. The observer was unable to approach more closely for a better photo, but diagnostic features are still apparent here. This underscores the importance of voucher photography in wildlife surveys.
|
This idea is not new. Online databases (and associated cell phone apps) designed for reporting such observations are increasingly numerous. Many of these sites also enable the user to submit ‘voucher’ photographs of the observed species. These images, if taken with just a bit of thought – and luck – can become a powerful tool for greatly increasing the quality of observation data. Observations of species collected by citizens can provide a better understanding of the distributions of species, and thus environmental drivers of change in such distributions (e.g., see previous post); ideally this takes place under a designed sampling scheme to improve inference. Here I provide a few lessons, tricks, and tips for improving ‘voucher’ photographs of specimens in the field.
1) Image stabilization is a no-brainer, but… We all know image quality varies across the board. What we need to confirm species identification may vary by species, but in general the photograph needs to be reasonably clear (not BLURRY). Image stabilization (IS) can help you get a clear photo, but it can’t make up for ALL movement. It is not an excuse to not try to hold the camera still for the shot. IS also can’t fix dirty or crappy glass…
2) Clean your lenses regularly and with dedicated lens cleaner such as a lens pen. This is not difficult but too often overlooked. Even if you rely solely on a cell phone, try to keep the lens free of sweat smears and dirt. You can purchase a lens pen or microfiber lens cloth for <$10, keep it with your field gear, and use it often. Seriously. Try to avoid using materials that could scratch the lens, as that defeats the purpose of cleaning it. Sweat or dust accumulation can quickly turn even the best lens into a paperweight. Wind is almost always blowing dust in the Great Plains - cleaning your lenses before and after each survey will help, and keeping the lens cap on when you're not taking a photo will help keep the lens dust-free during surveys.
2) Clean your lenses regularly and with dedicated lens cleaner such as a lens pen. This is not difficult but too often overlooked. Even if you rely solely on a cell phone, try to keep the lens free of sweat smears and dirt. You can purchase a lens pen or microfiber lens cloth for <$10, keep it with your field gear, and use it often. Seriously. Try to avoid using materials that could scratch the lens, as that defeats the purpose of cleaning it. Sweat or dust accumulation can quickly turn even the best lens into a paperweight. Wind is almost always blowing dust in the Great Plains - cleaning your lenses before and after each survey will help, and keeping the lens cap on when you're not taking a photo will help keep the lens dust-free during surveys.
|
3) Don’t rely on your cell phone camera if you have a better camera available. This should be obvious for anyone who has ever tried to snap a shot of a wary Sceloporus on a rock from 30m away – with their cell phone. While cell phone cameras will continue to improve, I have a difficult time believing they will ever have the clarity and ability to zoom of dedicated cameras. Yes, they are great in a pinch and better than nothing, but if your ‘target’ specimen is not wary (e.g., dead on road) cell phones work great.
4) Consider a camera with built-in GPS. If you’re in the market for a new field camera, consider one with a built-in GPS. This will embed in the photo metadata the location where you took each photo. However, an onboard GPS will also drain the camera’s battery more quickly… 5) Always have spare batteries and memory cards. In addition to always having a lens cleaner with you, you shouldn’t leave the house without spare batteries or memory cards. If you do and run out of juice in the field, have that cell phone camera ready to go! 6) Circular polarizing filter. If you don’t already own and use a polarizing filter, buy one and learn to use it. By simply turning the filter, it can cut out most of the sun’s glare reflecting off of wet amphibian skin or reptile scales. This can often substantially improve the utility of the photo as a voucher. |
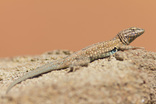
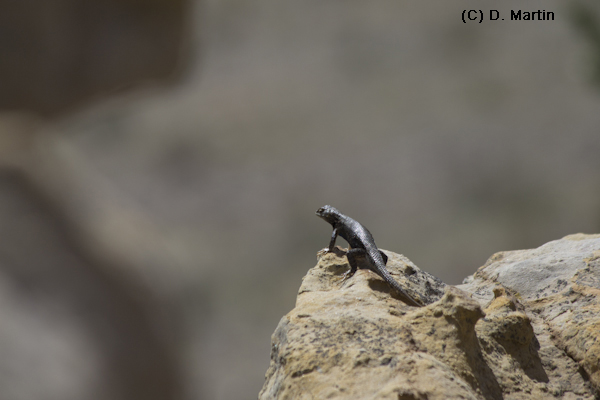
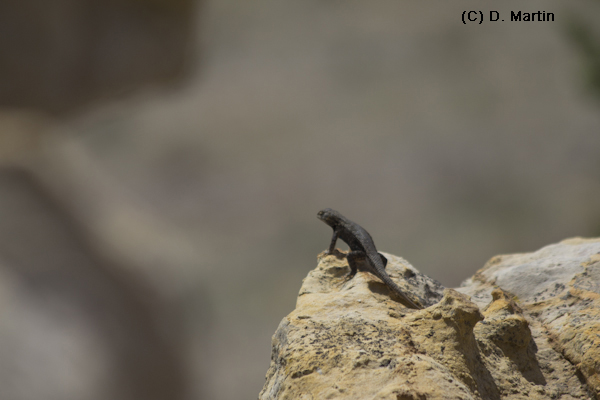
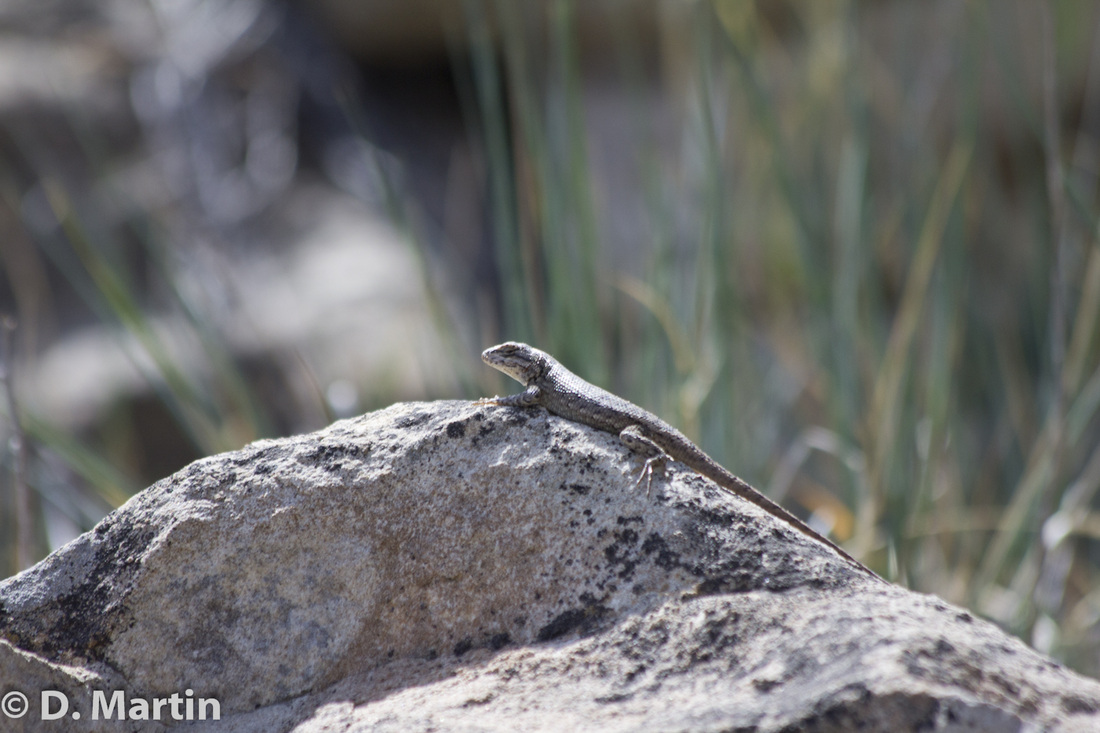
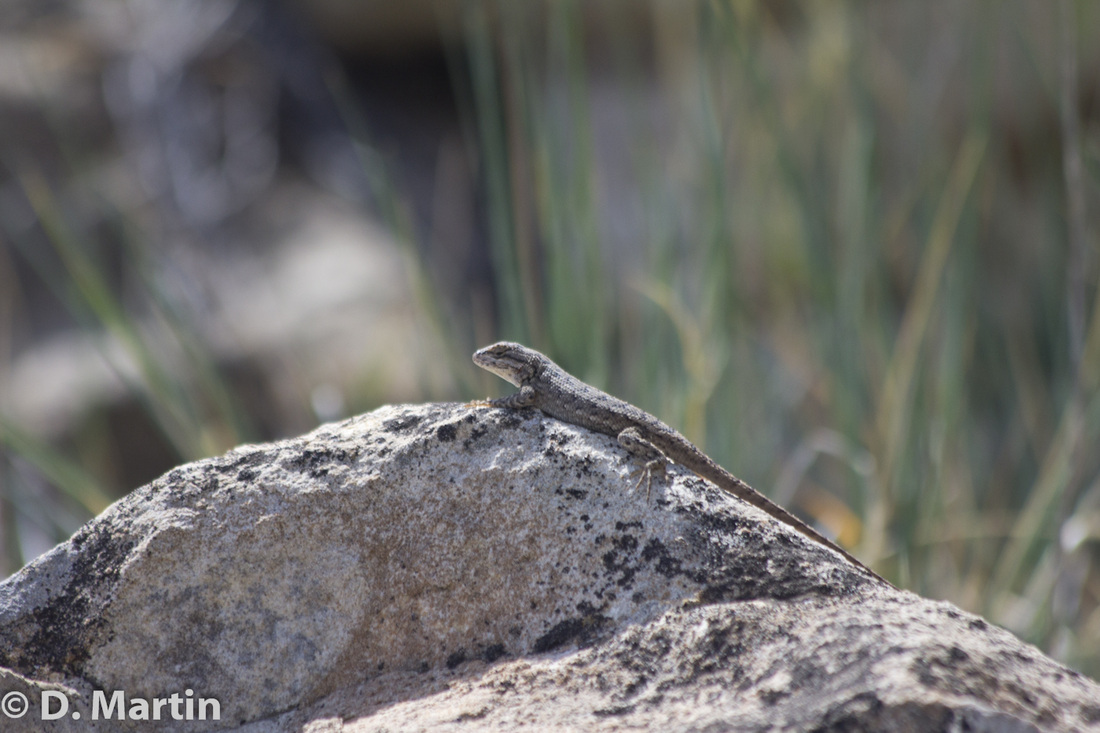
The photos below demonstrate the reduction in reflected sunlight off the scales of a Sceloporus, thanks to the use of a circular polarizing filter. This can improve the ability of others to confirm species identification.
|
BELOW: Sceloporus sp. (likely Plateau Fence Lizard) basking on rock without (left) and with (right) polarizing filter on camera lens.
*Keep in mind that we often are able to initially find reptiles by spotting the reflected sunlight on their scales - if you wear polarized glasses while conducting surveys in the field you will not be able to use this technique to spot reptiles!
*Keep in mind that we often are able to initially find reptiles by spotting the reflected sunlight on their scales - if you wear polarized glasses while conducting surveys in the field you will not be able to use this technique to spot reptiles!
|
|
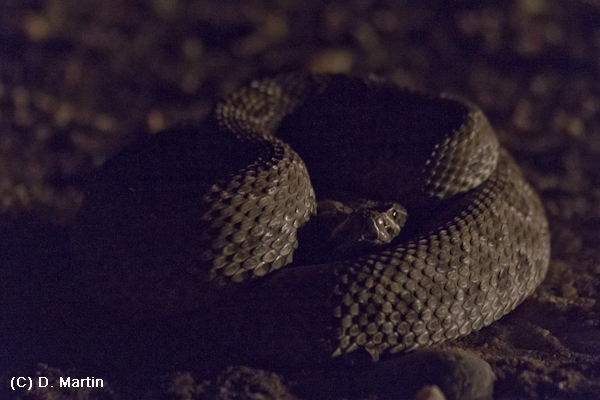
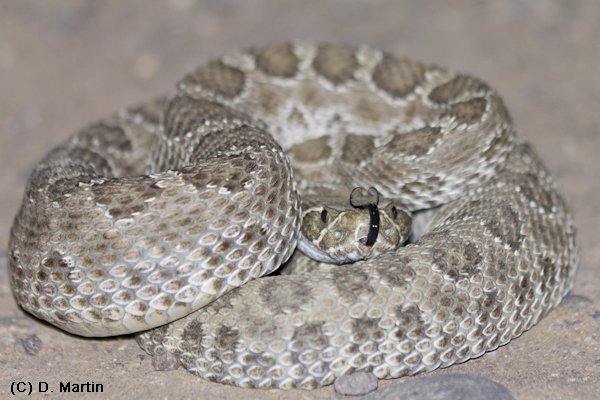
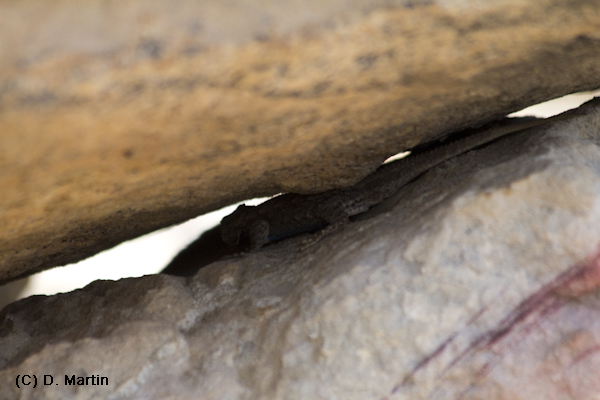
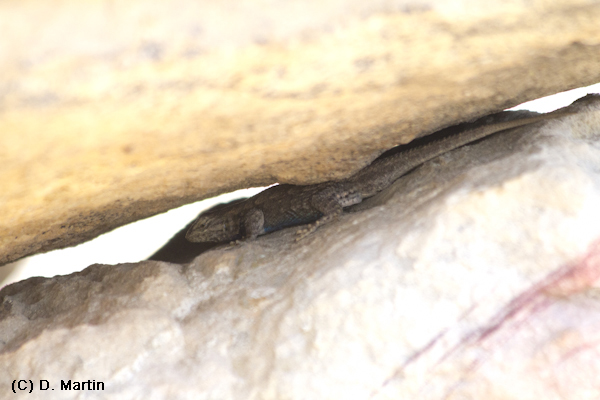
7) Don’t be afraid to use the flash when needed (or a reflector). Most cameras have built-in flash. A few examples of occasions in which to consider using a flash: a Prairie Lizard in a rock crevice, a Prairie Rattlesnake hunkered down in a prairie dog burrow, a Texas Spotted Whiptail in the shade of mesquite below a canyon wall. Keep in mind that you’ll want to stand back far enough from the subject such that the flash will not be blocked from reaching the specimen. If you’re out at night, using the flash is better than the light from your vehicle’s headlights.
Flash is a must at night. Light from a vehicle’s headlights is okay (left), but you get much better results with the camera's popup flash (right).
|
|
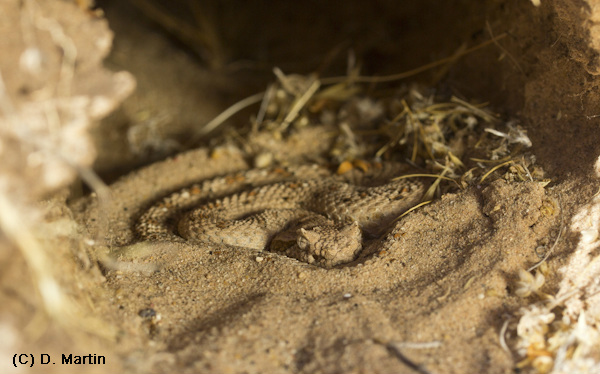
During the day, a reflective device can be used to shine sunlight into cracks. Herpetologists of old used small pocket mirrors.
Even better for photography are small, portable (and often fold-able) reflectors that are easy to carry in the field.
A Sidewinder (below, not a Great Plains species!) in a ground-squirrel burrow, lit by sunlight reflected off a pocket-sized reflector (~$10).
Even better for photography are small, portable (and often fold-able) reflectors that are easy to carry in the field.
A Sidewinder (below, not a Great Plains species!) in a ground-squirrel burrow, lit by sunlight reflected off a pocket-sized reflector (~$10).
8) Shoot photos of animals in situ. For shooting vouchers of animals during surveys, photograph them in situ. Keep in mind the purpose of what you’re doing – adding to the information for species that may aide in their conservation. There are several legitimate reasons for capturing/handling reptiles (e.g., research under permit, education), but if your goal is to merely document the species as existing where you observed it, please consider photographing it in place. Unnecessary stress, potentially altering behavior, and unintentionally facilitating disease transmission (e.g., Bd) are good enough reasons to think twice about grabbing a specimen just to document its existence. Observe, get your shots quickly, and move on… [see Huang et al. 2011, Boyd 2012]
*Note that for those cases in which capture is needed to answer legitimate research questions (under appropriate permit), I’ll write a future post on standardized photography for researchers wanting to use photo identification for mark-recapture studies.
9) Shoot at highest resolution, in RAW if possible. Always, always, always shoot in highest resolution possible. If you have the memory card space available and your camera has the option, shoot in RAW – but this is far less critical than shooting at highest resolution available. High resolution may help resolve identifying characteristics of the specimen from further away (i.e., better for reducing potential stress).
*To submit photos for this project you must convert any photos to JPEG format if they were not taken in JPEG format. The suggestion to shoot in RAW is for your own use of the photos.
10) Camera settings. If you don’t care about this, it’s probably safe to use full-auto mode most of the time. If you are into getting the best photo you can, read on for a few tips: My general rule of thumb is to use shutter speeds between 100 and 500, depending on the behavior of the animal, species, and available light. For a toad that is actively hopping, best to use faster shutter speed; for a whiptail that is cooling off in the shade of a juniper, lower shutter speed. I use auto-ISO most of the time, but set to max out at 800 ISO (although technology is always improving the quality of photos taken at higher ISO). For later identification of herps, it is good to use a reasonably-small aperture (e.g., f8 or smaller) to ensure most of the features will be in focus. If there is plenty of light available, I like to shoot on Aperture-priority mode, using the depth-of-field preview to ensure the animal is in focus. If you have an animal in low light, bump up the f-stop several notches to help brighten the image.
Bumping up the f-stop lets more light into the camera, and can shed some light on critters in shaded crevices or burrows.
|
|
For related information:
Boyd, K. 2012. The ethics of wildlife photography: sticky questions for the digital age. The Wildlife Professional, Winter 2012.
Huang et al. 2011. Take only pictures, leave only… fear? The effects of photography on the West Indian anole Anolis cristatellus. Current Zoology 57:77–82.
Suggestions for what to photograph for different species to aide in identification:
Graeter et al. 2013. Inventory and Monitoring: Recommended Techniques for Reptiles and Amphibians, with application to the United States and Canada. http://www.parcplace.org/publications/inventory-and-monitoring-guide.html